How to Use GitHub for Beginners: A Complete Step-by-Step Guide (2026 )
If you have ever heard developers talk about GitHub and felt completely lost, you are not alone. I remember the first time someone told me to “just push it to GitHub” — I had no idea what that meant. It felt like a secret language only experienced programmers knew.
The good news? GitHub is not nearly as complicated as it sounds. Once you understand the basics, it becomes one of the most useful tools in your entire development journey. Whether you are a student, a self-taught coder, or someone just starting their tech career — this guide will walk you through everything from scratch.
By the end of this article, you will know exactly what GitHub is, why it matters, and how to start using it today — even if you have zero prior experience.
What Exactly Is GitHub?
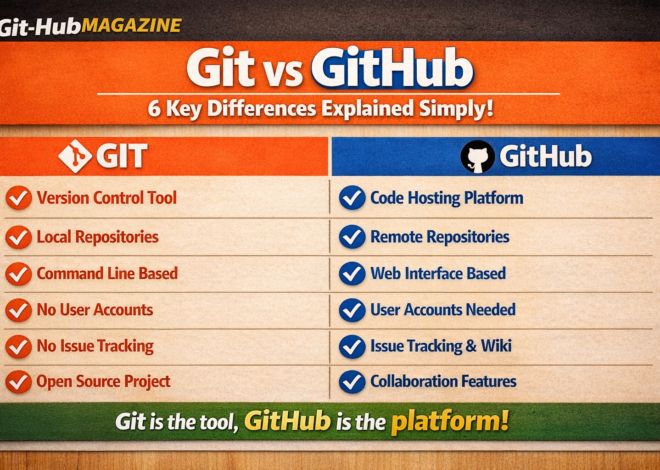
Before we dive into the how-to part, let us clear up something that confuses almost every beginner: GitHub and Git are not the same thing.
Git is a version control system — think of it as a time machine for your code. It tracks every change you make, so if something breaks, you can go back to when it was working.
GitHub is a website and cloud platform built on top of Git. It lets you store your code online, share it with others, and collaborate on projects — even with developers on the other side of the world.
Think of Git as Microsoft Word’s “Track Changes” feature, and GitHub as Google Drive — where you store and share those documents with your team.
Why Should You Learn GitHub?
You might be wondering — do I really need to learn this? The honest answer is yes, especially if you are serious about a career in tech. Here is why GitHub matters so much:
- Every tech company uses it. From startups to giants like Google and Microsoft — GitHub is the standard. Knowing it makes you job-ready.
- It is your portfolio. Your GitHub profile is like a resume for developers. Employers look at it to see what you have built.
- It prevents losing work. Accidentally deleted your project? With GitHub, every version is saved. You can always restore what you lost.
- Collaboration becomes easy. Working with a team on the same codebase without stepping on each other’s toes — that is exactly what GitHub enables.
- It is completely free. For most use cases, especially for beginners and students, GitHub is free.
Step 1: Create Your Free GitHub Account
Getting started takes less than five minutes. Here is how:
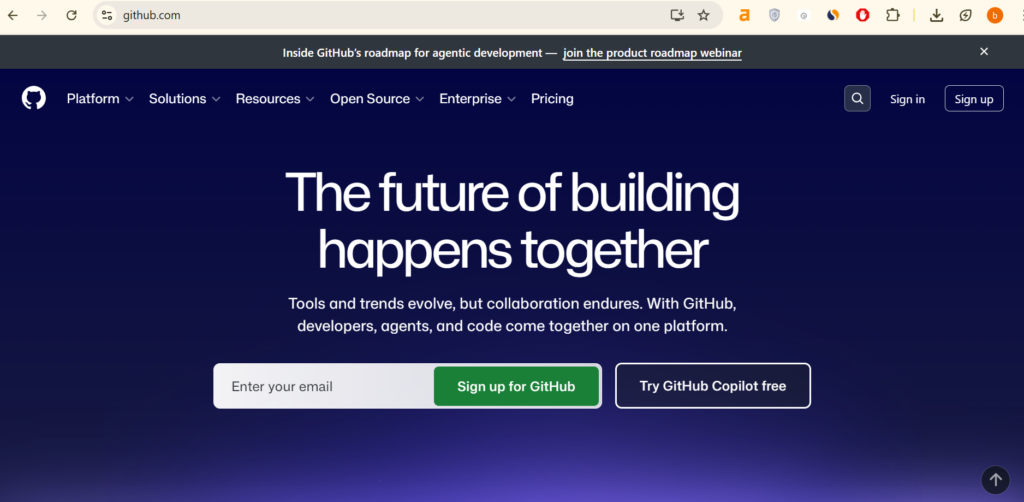
- Go to github.com in your browser.
- Click the ‘Sign up’ button in the top right corner.
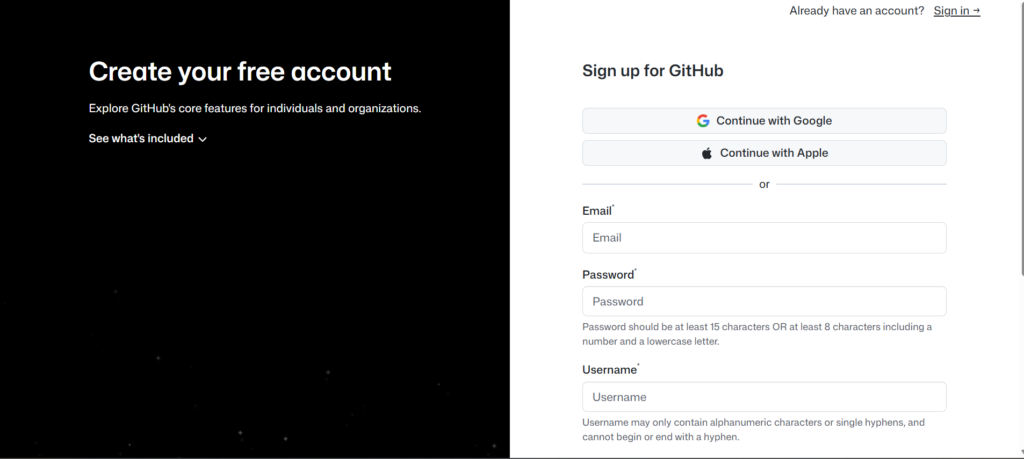
- Enter your email address and create a strong password.
- Choose a username — this will be your public identity on GitHub, so pick something professional.
- Verify your email address through the link GitHub sends you.
- You are in! Your GitHub account is now ready.
Pro Tip: Use your real name or a clean professional username. Future employers will see this.
Step 2: Understanding Repositories
A repository (or “repo” as developers call it) is simply a folder that stores your project. Everything inside it — your code files, images, documents, README — is tracked by Git.
There are two types of repositories:
- Public repositories: Anyone on the internet can see your code. Great for open-source projects and building your portfolio.
- Private repositories: Only you (and people you invite) can see the code. Better for personal or client projects.
Step 3: Create Your First Repository
Now the fun begins. Let us create your very first repository:
- Log in to your GitHub account.
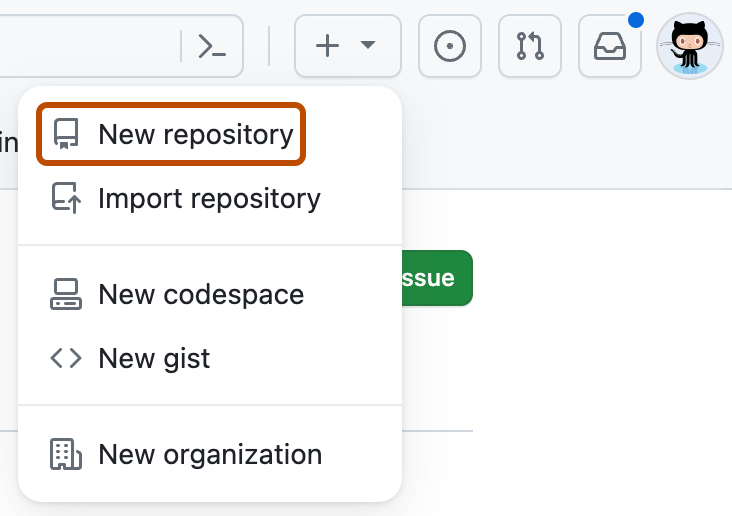
- Click the green ‘New’ button on the left side, or click the ‘+’ icon at the top right and select ‘New repository’.
- Give your repository a name. Keep it simple and descriptive — like ‘my-first-project’ or ‘portfolio-website’.
- Write a short description (optional but recommended).
- Choose Public or Private.
- Check the box that says ‘Add a README file’ — this creates a basic introduction file for your project.
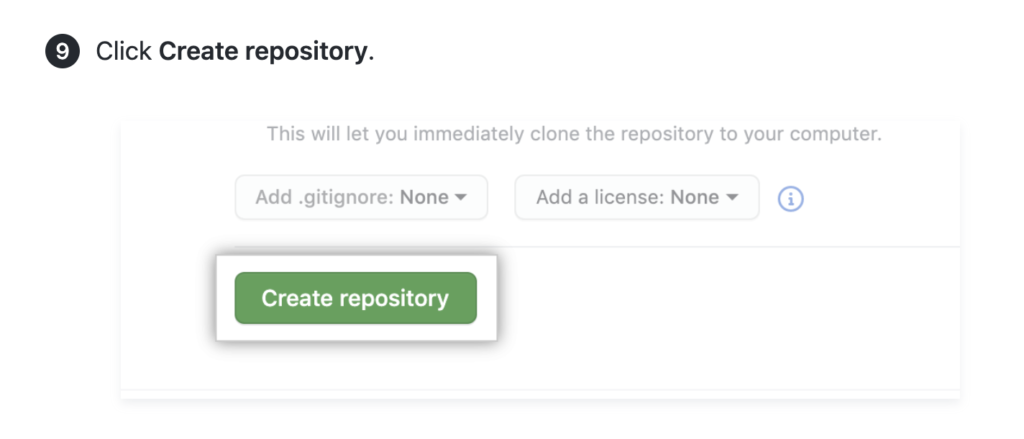
- Click ‘Create repository’.
Congratulations! You just created your first GitHub repository. It might feel like a small step, but this is exactly where every developer starts.
Step 4: Key GitHub Terms You Must Know
GitHub has its own vocabulary. These five terms come up constantly, so understanding them early will save you a lot of confusion:
- Commit: A commit is like saving your work with a note. Every time you make changes and save them to GitHub, that is a commit. You write a short message explaining what you changed — like ‘fixed login bug’ or ‘added homepage design’.
- Branch: A branch is a separate copy of your project where you can experiment freely. The main branch is your stable, working version. You create a new branch to test features without risking the main code.
- Merge: Once your new feature or fix is ready, you merge your branch back into the main one. This combines the changes.
- Pull Request (PR): Before merging, you open a pull request — it is basically asking your team to review your changes before they go live. Very common in professional teams.
- Clone: Cloning means downloading a copy of a repository from GitHub to your own computer so you can work on it locally.
Step 5: Upload Files to Your Repository
You do not need to be a command-line expert to add files. GitHub’s website makes it simple:
- Open your repository on GitHub.
- Click ‘Add file’ button and then choose ‘Upload files’.
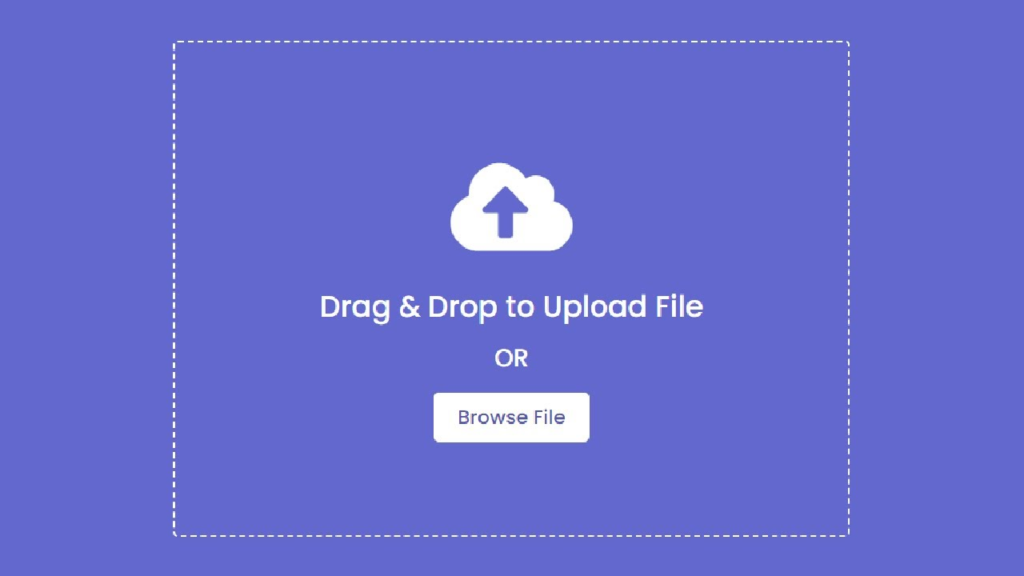
- Drag and drop your files into the box, or click to browse from your computer.
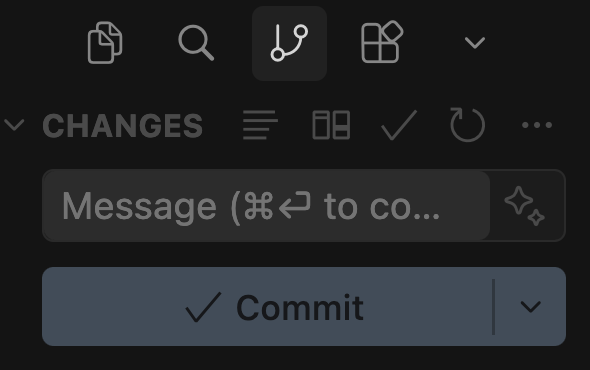
- Scroll down to the ‘Commit changes’ section.
- Write a brief commit message like ‘added index.html file’.
- Click ‘Commit changes’.
Your files are now safely stored on GitHub and version-controlled. Anyone you share the link with can see them.
Common Mistakes Beginners Make (And How to Avoid Them)
I have seen these mistakes happen over and over — both from my own experience and from helping others. Avoid these early on:
- Uploading sensitive information. Never commit passwords, API keys, or personal data to a public repo. Use a .env file and add it to .gitignore.
- Vague commit messages. Writing ‘fixed stuff’ tells nobody anything. Be specific: ‘fixed broken navigation link on mobile’.
- Working directly on the main branch. Always create a new branch for new features or fixes. Keep main clean and stable.
- Never using README files. A README is the first thing visitors see. Always write what your project does, how to use it, and how to install it.
- Forgetting to commit regularly. Do not wait until the end to commit. Commit after every meaningful change, so your history is clear and recovery is easier.
What to Learn Next After the Basics
Once you are comfortable with creating repos and committing files, here is what to explore next:
- Install Git on your computer and learn basic terminal commands (git add, git commit, git push)
- Learn how to clone repositories and contribute to open-source projects
- Explore GitHub Actions for automating tasks like testing and deployment
- Set up GitHub Pages to host your own free website
- Practice branching and merging in a personal test project
Frequently Asked Questions
Is GitHub free to use?
Yes, GitHub is free for individuals and offers unlimited public and private repositories. They also have paid plans for teams and businesses with extra features.
Do I need to know coding to use GitHub?
Not necessarily. GitHub can be used to store any type of files — including writing, design assets, and data. However, it is most powerful when used with code.
What is the difference between Git and GitHub?
Git is the version control software installed on your computer. GitHub is the website where you store and share your Git repositories online.
Can I use GitHub without the terminal?
Absolutely. GitHub’s website lets you do most basic tasks without ever opening a terminal. GitHub Desktop is also a great visual app for beginners.
How do I make my GitHub profile stand out?
Keep your repos organized, write good README files, pin your best projects, and contribute regularly. Consistency over time matters most.
Final Thoughts
GitHub is one of those tools that seems intimidating at first but becomes second nature with a little practice. Every professional developer you admire uses it daily — and they all started exactly where you are right now.
The most important thing is to start. Create your account today, make your first repository, upload a simple file, and write your first commit message. That single action puts you ahead of the majority of people who read about GitHub but never actually try it.
If you found this guide helpful, share it with someone who is just getting started with coding. And if you have any questions, drop them in the comments — I read every single one.
Related Posts
How ChatGPT Works Step by Step

Host Website on GitHub Pages Free Guide