
How to Create a GitHub Repository From Scratch (Complete Guide 2026)
There is a moment every new developer experiences — you have written your first lines of code, your project is sitting on your laptop, and someone says: just put it on GitHub. Simple enough advice, until you actually try to figure out how.
Creating a GitHub repository sounds technical, but once you do it the first time, you will realize it takes less than two minutes. I have walked dozens of beginners through this exact process, and the biggest barrier is always the same thing: not knowing where to start.
This guide fixes that. I will walk you through every single step — from logging into GitHub to having a fully working repository with your first files inside it. No experience required.
What Is a GitHub Repository?
Before we jump into the steps, let us make sure we are on the same page about what a repository actually is.
A GitHub repository — or “repo” — is essentially a project folder stored in the cloud. It holds all your files, tracks every change you make to them, and keeps a complete history of your project from the very beginning. Think of it like Google Drive for your code, but with superpowers.
Every repository has its own URL, which means you can share it with anyone in the world. Employers, collaborators, and open-source contributors all use repositories to access and work on projects together.
Before You Start: What You Need
Creating a repository requires almost nothing. Here is the complete checklist:
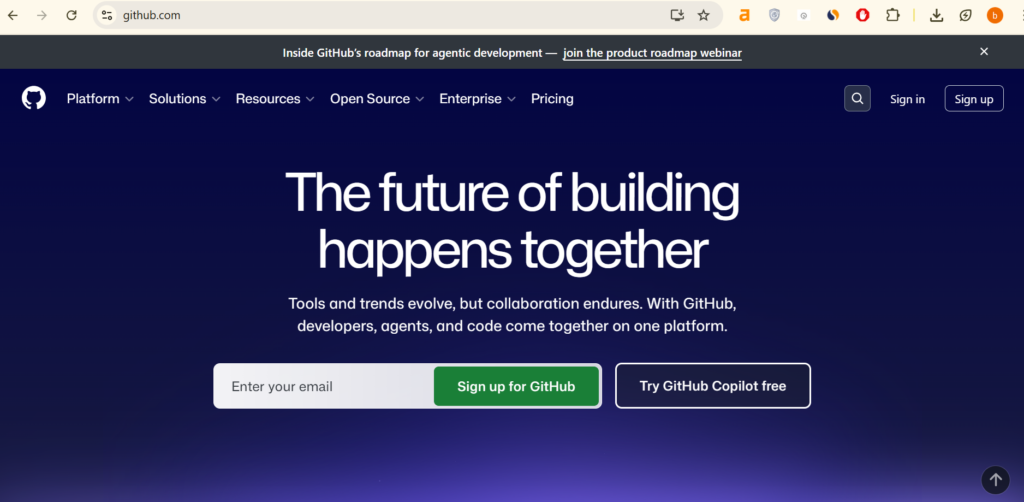
- A GitHub account. If you do not have one yet, go to github.com and sign up for free. It takes under three minutes.
- A web browser. No software installation needed for the basic steps in this guide.
- A project idea or existing files. Even a simple text file works — we just need something to put in the repo.
Step 1: Log In to Your GitHub Account
Open your browser and go to github.com. Click the “Sign in” button at the top right corner of the page. Enter your username and password, then click the green Sign in button.
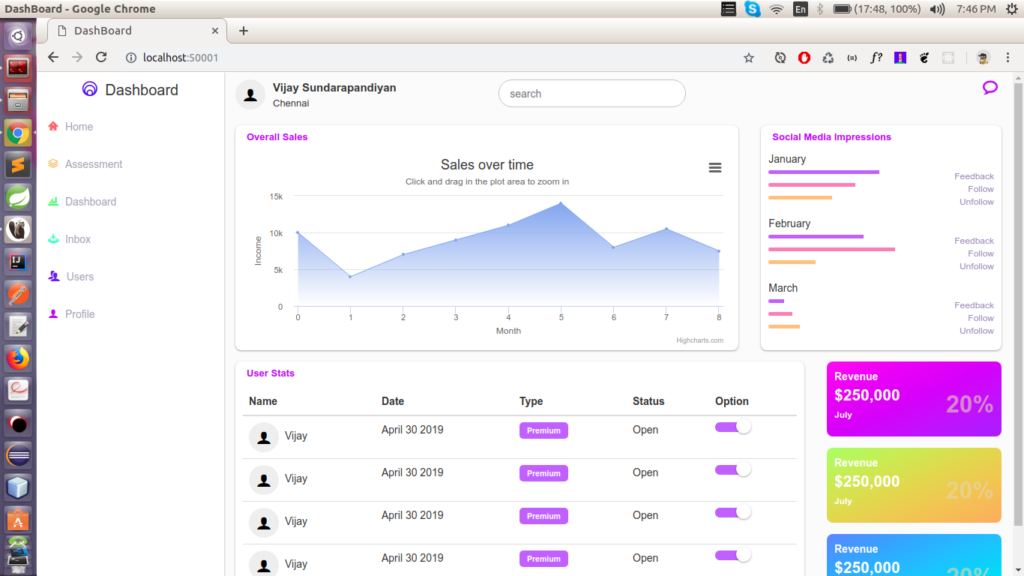
Once you are logged in, you will land on your GitHub dashboard. This is your home base — from here you can see your repositories, activity, and notifications.
Step 2: Find the ‘New Repository’ Button
There are two easy ways to start creating a new repository from your dashboard:
- Look at the left sidebar on your dashboard. You will see a “Top repositories” section with a green button that says New. Click it.
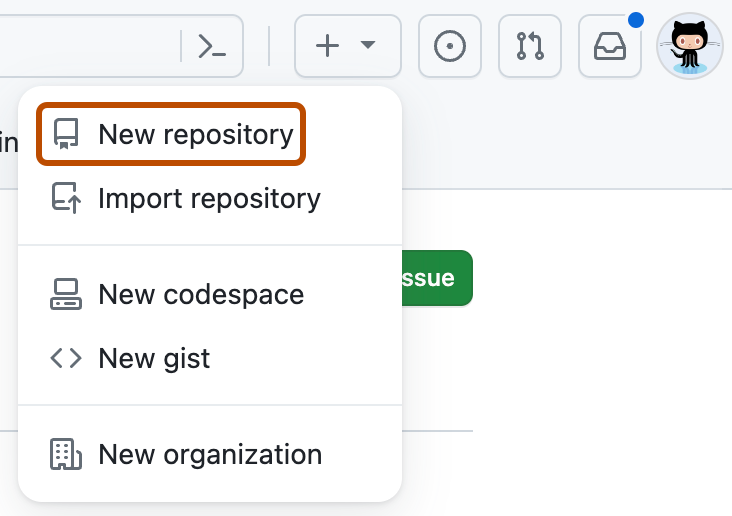
- Alternatively, click the + icon in the top-right corner of any GitHub page, then select New repository from the dropdown menu.
Both options take you to the exact same place — the repository creation form.
Step 3: Fill in the Repository Details
This is the most important step, so take a moment to read through each field carefully. You will see a form with several options to configure your new repository.
Repository Name
This is the name of your project folder on GitHub. A few rules to follow:
- Use lowercase letters only. GitHub is case-sensitive and lowercase keeps things clean.
- Use hyphens instead of spaces. For example: my-first-project, not my first project.
- Keep it short and descriptive. Something like portfolio-website or python-calculator works perfectly.
Warning: Do not use special characters like !, @, #, or spaces in your repo name. These cause errors.
Description (Optional but Recommended)
Write one sentence that explains what your project does. This appears under your repo name and helps visitors understand your project instantly. Example: A personal portfolio website built with HTML and CSS.
Public or Private?
This is one of the most important decisions when creating a repository:
- Public: Anyone on the internet can see your repository. Choose this for portfolio projects, open-source work, or anything you want to share with the world.
- Private: Only you and people you specifically invite can see it. Choose this for client work, personal experiments, or anything sensitive.
Initialize with a README
Always check this box. A README file is the front page of your repository — it is the first thing anyone sees when they visit your project. GitHub automatically creates a basic one for you, which you can customize later.
Add .gitignore (Optional)
A .gitignore file tells Git which files to ignore — things like system files, passwords, or temporary files that should not be saved to your repository. If you are using Python, select Python from the dropdown. For Node.js projects, select Node. For your first project, you can skip this.
Choose a License (Optional)
A license tells others what they can and cannot do with your code. The most common choices are MIT License (very open and permissive) and Apache 2.0. For personal or learning projects, you can leave this blank or choose MIT.
Step 4: Create the Repository
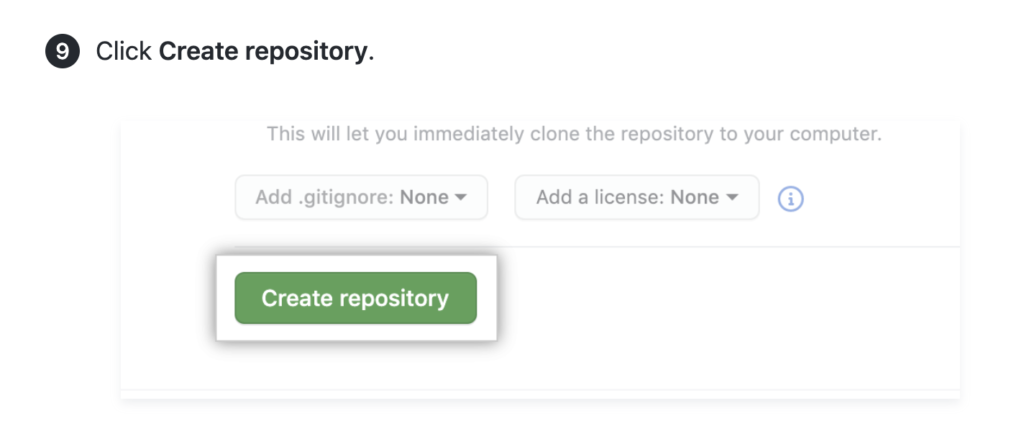
Once you have filled everything in, scroll to the bottom of the page and click the green Create repository button.
GitHub will process your request and immediately redirect you to your brand new repository page. Congratulations — you have just created your first GitHub repository.

Step 5: Upload Your First Files
Your repository exists but it only has the README file right now. Let us add some real files to it.
- On your repository page, click the Add file button near the top right.
- From the dropdown, select Upload files.
- You will see a drag-and-drop area. Either drag your files directly into this area, or click choose your files to browse and select them from your computer.
- Wait for the files to finish uploading — you will see a progress bar.
- Scroll down to the Commit changes section.
- Write a short commit message describing what you added. For example: added index.html and style.css files.
- Leave the option set to Commit directly to the main branch.
- Click the green Commit changes button.

Your files are now saved in your GitHub repository. They are version-controlled, backed up in the cloud, and accessible from any device anywhere in the world.
Step 6: Edit Your README File
A good README makes your repository look professional and helps visitors understand your project. Here is how to edit it directly on GitHub without any extra tools:
- On your repository page, click the README.md file.
- Click the pencil icon (Edit this file) in the top right corner of the file view.
- You will enter a text editor. Replace the default text with a proper description of your project.
- Add sections like What this project does, How to use it, and Technologies used.
- When done, scroll down and click Commit changes.

What Makes a Good GitHub Repository?
Now that you know how to create one, here is what separates a forgettable repo from one that impresses employers and collaborators:
- Clear repository name. Should describe the project in 2-4 words without abbreviations.
- Detailed README. Explain what the project does, why you built it, how to run it, and what technologies you used.
- Consistent commit messages. Each commit message should explain exactly what changed — not just ‘update’ or ‘fix’.
- Organized file structure. Group related files into folders. Keep your root directory clean.
- Regular commits. Commit often — after every meaningful change, not just once at the end.
Common Mistakes to Avoid
Here are the errors beginners make most often when creating their first repositories:
- Uploading passwords or API keys. Never commit sensitive information to a public repository. Use environment variables and .gitignore to keep secrets out.
- Creating too many repositories at once. Focus on one project at a time. A well-maintained single repo is worth more than ten abandoned ones.
- Skipping the README. An empty README signals to employers that you did not care enough to document your work.
- Using confusing names. Repos named ‘test123’ or ‘asdfgh’ look unprofessional and cannot be found later.
- Never updating the repository. Push updates regularly. A repo with its last commit from six months ago looks inactive.
Frequently Asked Questions
Can I rename a repository after creating it?
Yes. Go to your repository Settings (top menu), scroll to the Danger Zone section, and click Rename. Your old URL will automatically redirect to the new one.
Can I change a public repository to private?
Absolutely. In repository Settings, scroll down to the Danger Zone and click Change repository visibility. Keep in mind that making a public repo private will remove it from search results immediately.
How many repositories can I create for free?
GitHub allows unlimited free repositories for individuals — both public and private. There is no cap.
What is the difference between a repository and a branch?
A repository is the entire project. A branch is a parallel version within that project where you can make changes without affecting the main code.
Can I delete a repository?
Yes, but be careful — deletion is permanent. Go to repository Settings, scroll to the Danger Zone, and click Delete this repository. GitHub will ask you to type the repo name to confirm.
Final Thoughts
Creating your first GitHub repository is one of those small steps that feels much bigger once you have done it. You have moved from working locally on your machine to having your project live in the cloud, versioned, and shareable with anyone.
From here, the next natural steps are learning basic Git commands so you can push changes from your local machine, exploring branching for cleaner project workflows, and eventually contributing to other people’s open-source repositories.
Start with one project. Keep it simple. Commit regularly. Your GitHub profile will grow naturally from there — and so will your skills.
If this guide helped you, share it with someone who is just starting their coding journey. And if you have questions, drop them in the comments below — I answer every single one.
Related Posts

What Is Open Source and How to Contribute

Sankaku Complex Explained: Culture, Controversy